
Moodle Integration Guide for Admins
Key Points
- Approximate setup time is 10 minutes
- Once Admin integrates with Rumi with Moodle, all Instructors will have access to Rumi.
- To use Rumi with Moodle, classes and assignments must be created in Moodle, not Rumi.
- This is a single-sign on integration, you should not register new accounts on Rumi.
- Important: Please contact support@rumidocs.com in advance to obtain the Subdomain you need to use in Step 3.
Integration Steps
Step 1. Open Plugins Tab
Click on “Site administration” (Top Menu Bar) → Choose “Plugins” from the tabs
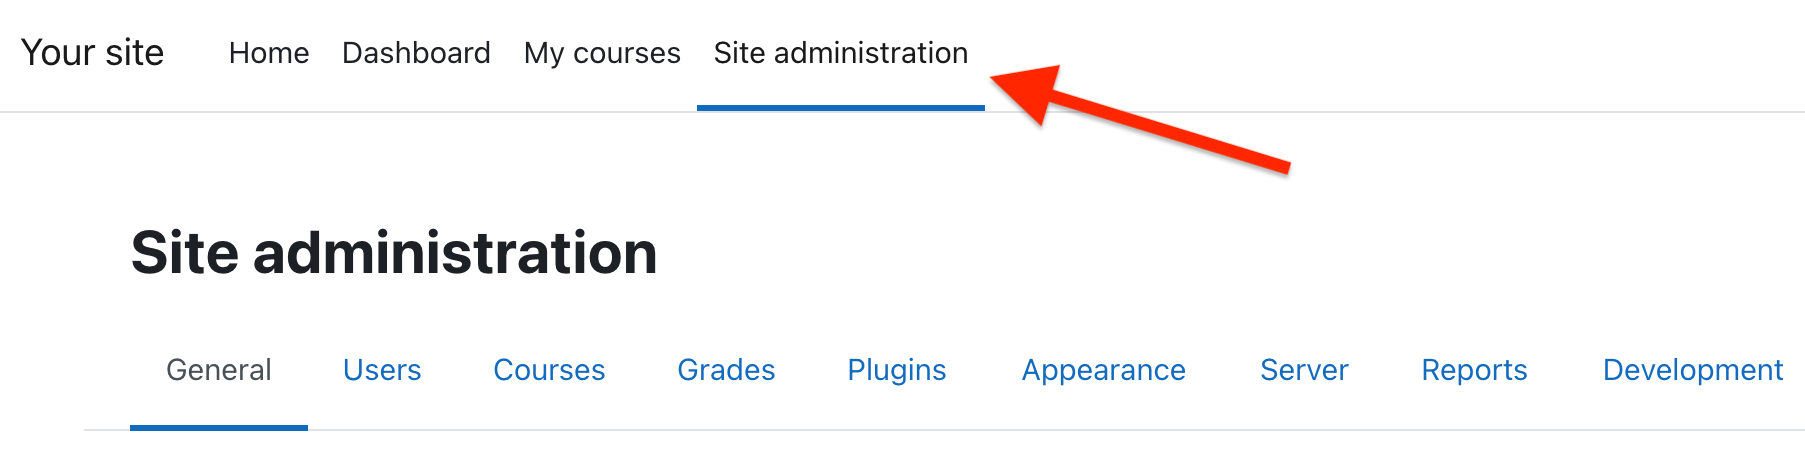
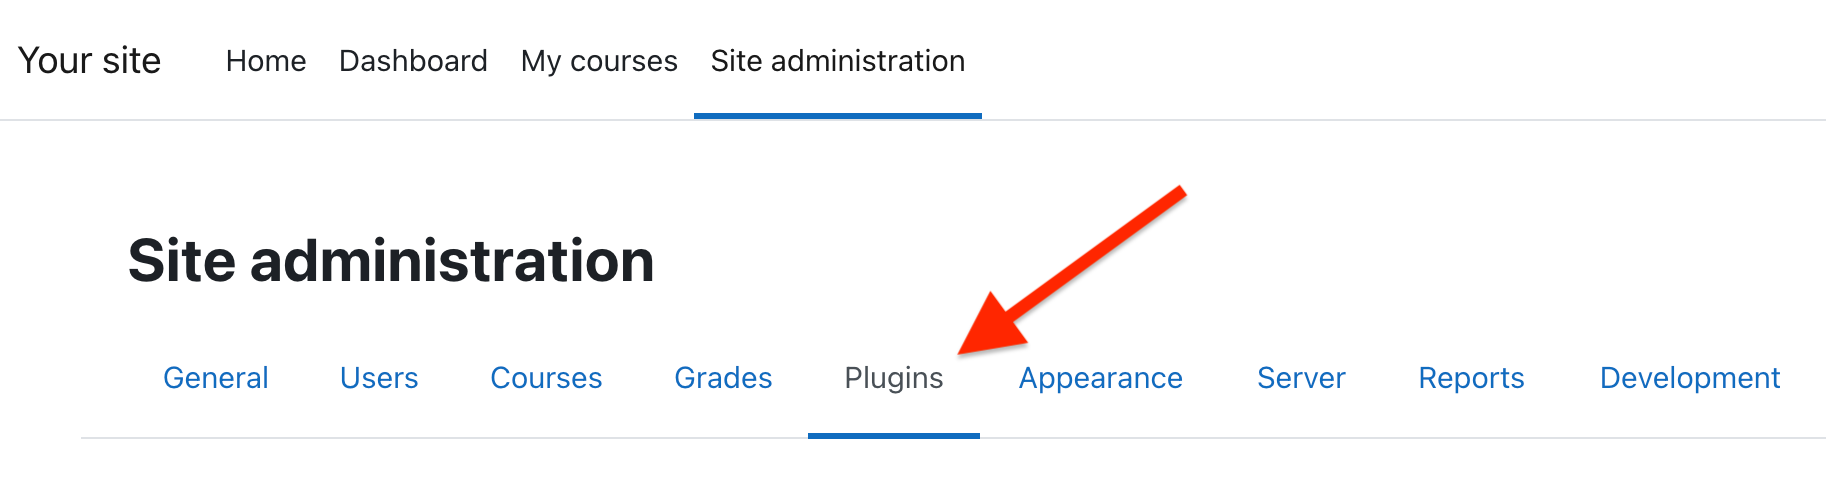
Step 2. Manage External Tools
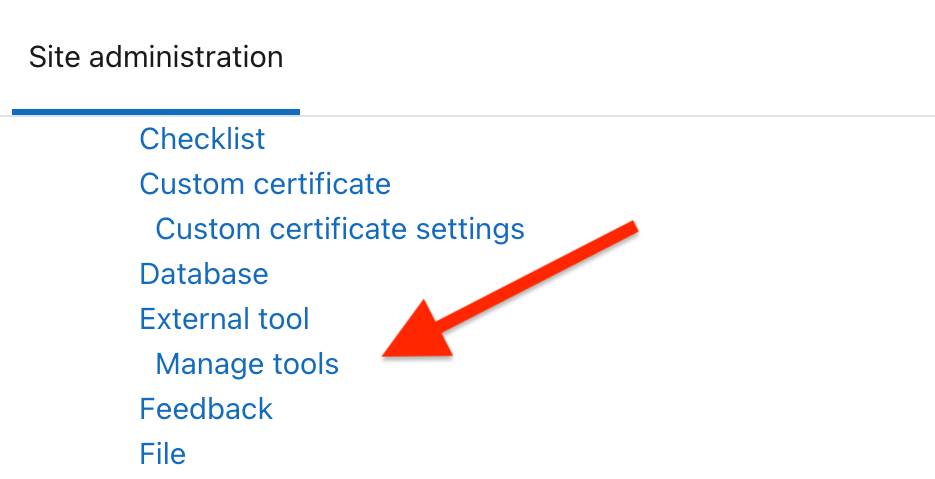
Go to “External Tool” → “Manage Tools”
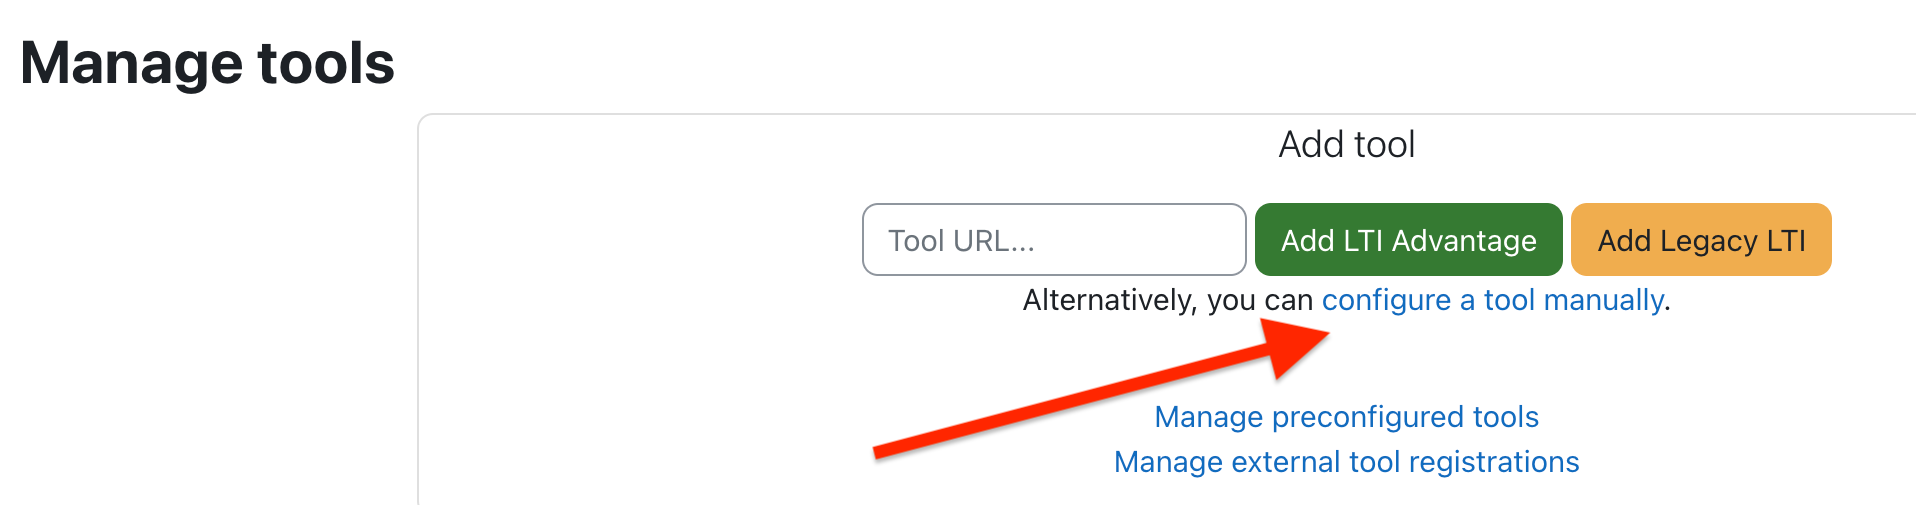
Step 3. Configure Tool Manually
Click on "Configure a tool manually" and enter the following information in the form:
Add the following information:
Click on Save changes
Step 4. Share Platform Details
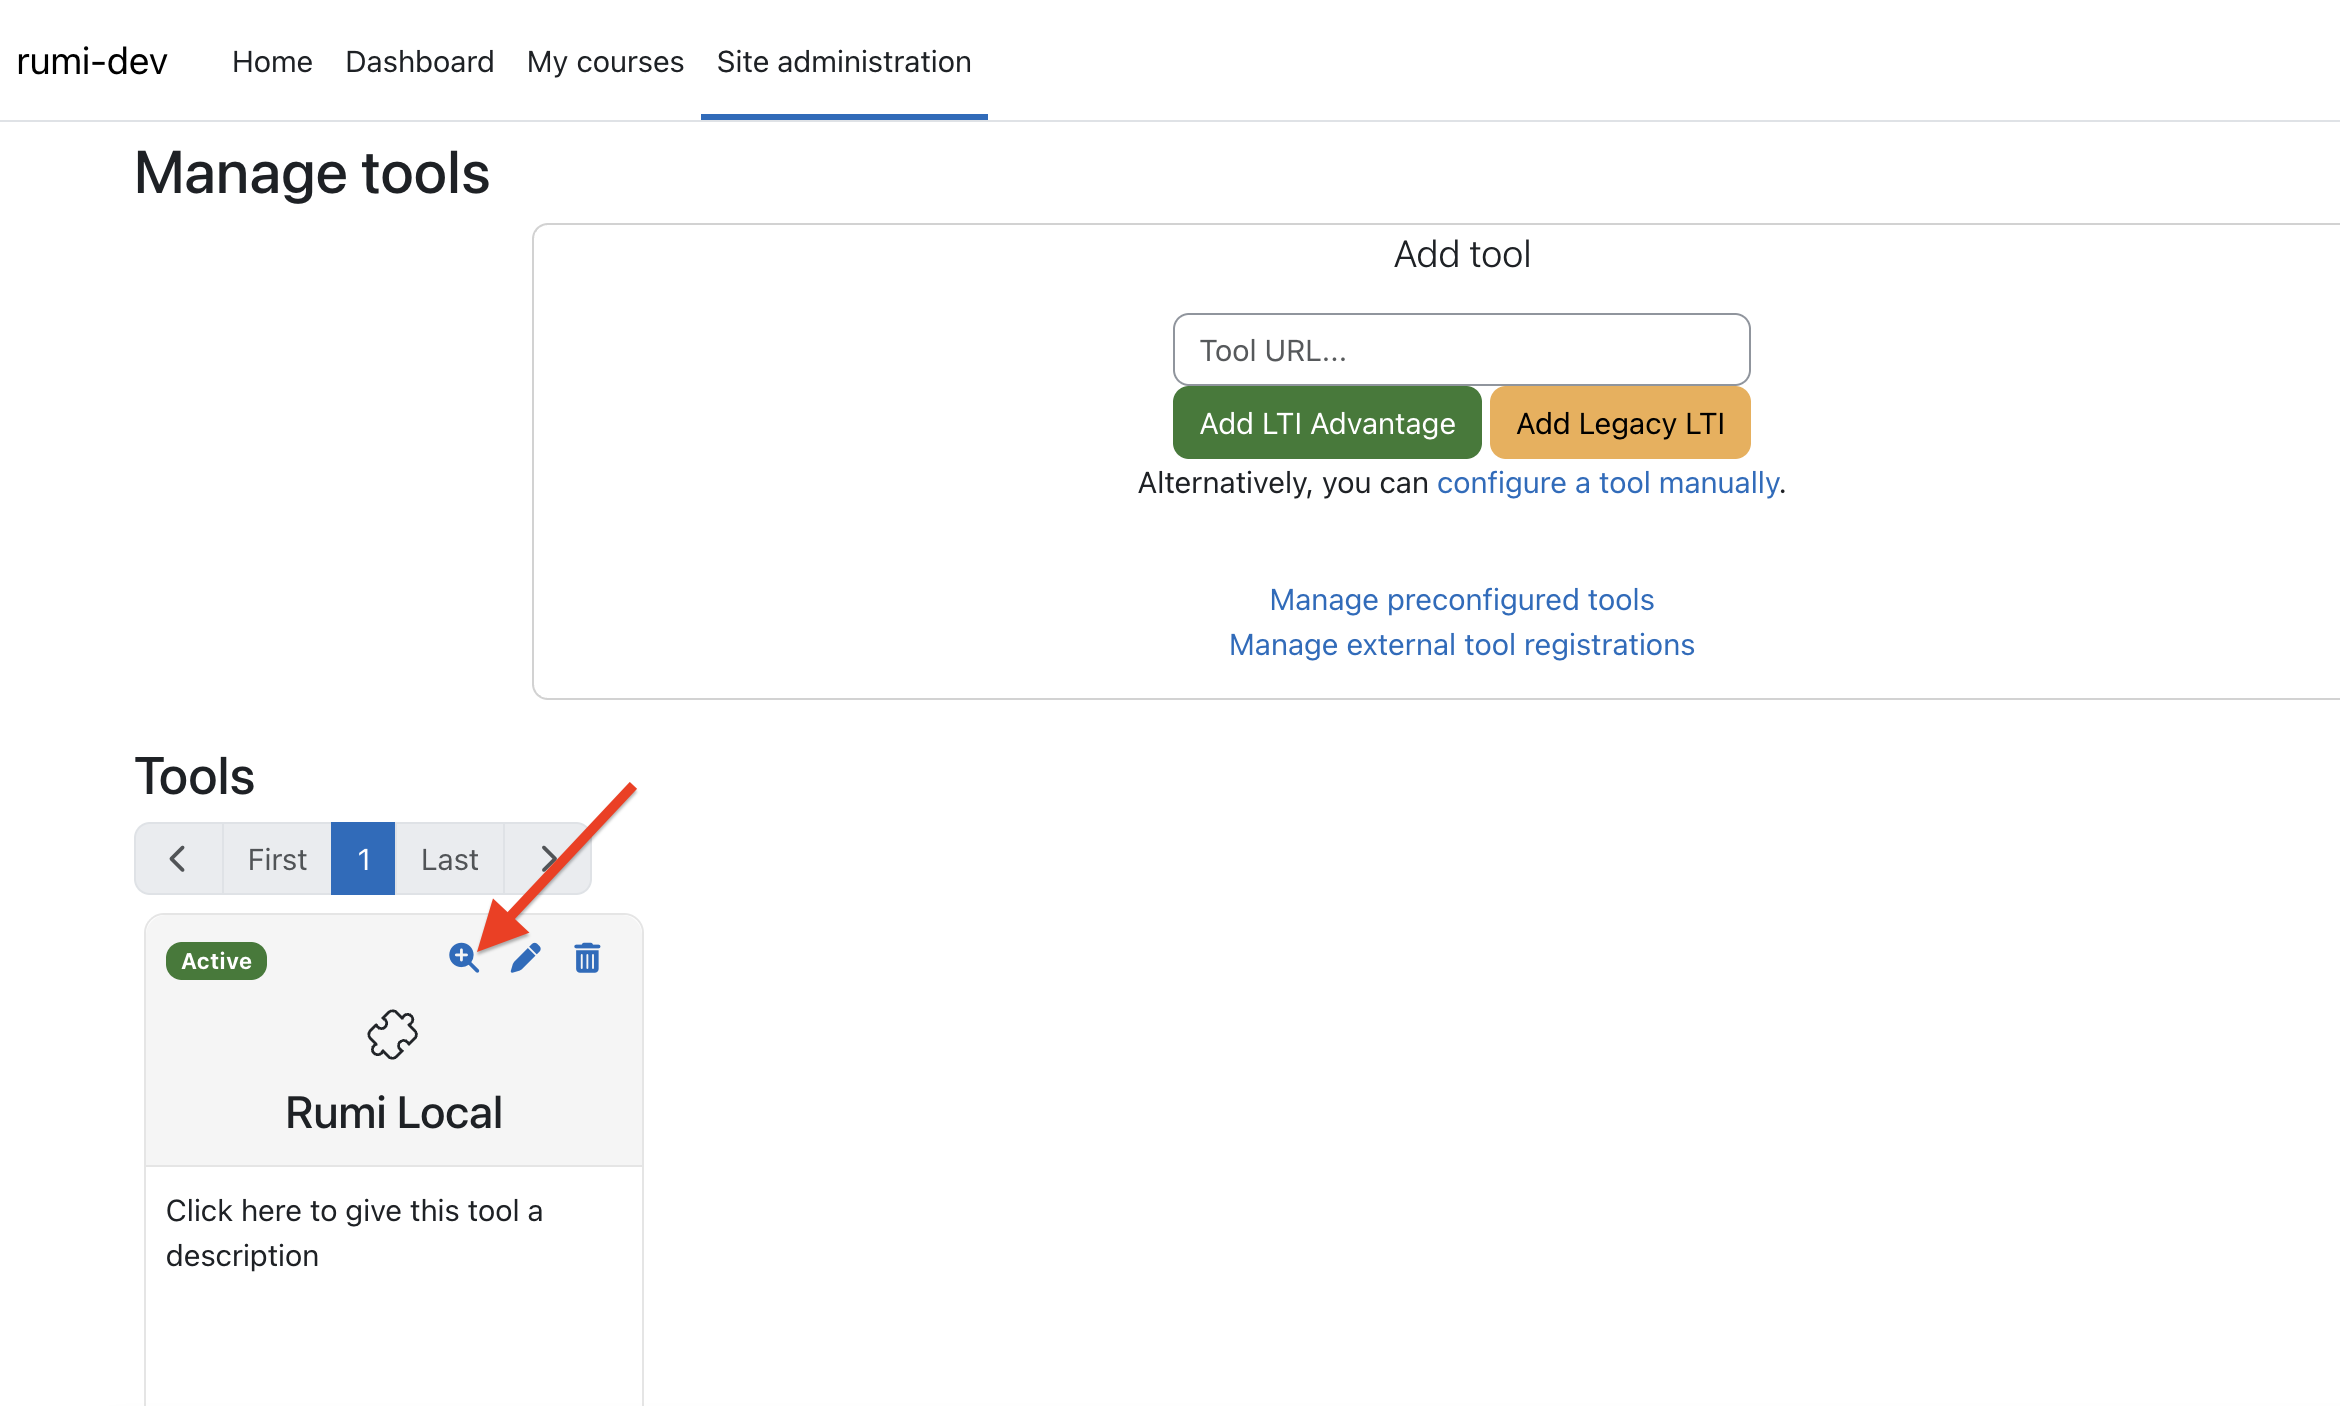
After Save changes, the tool shows as a card under Tools. Click the magnifier icon, View configuration details, and copy the six values from that dialog.
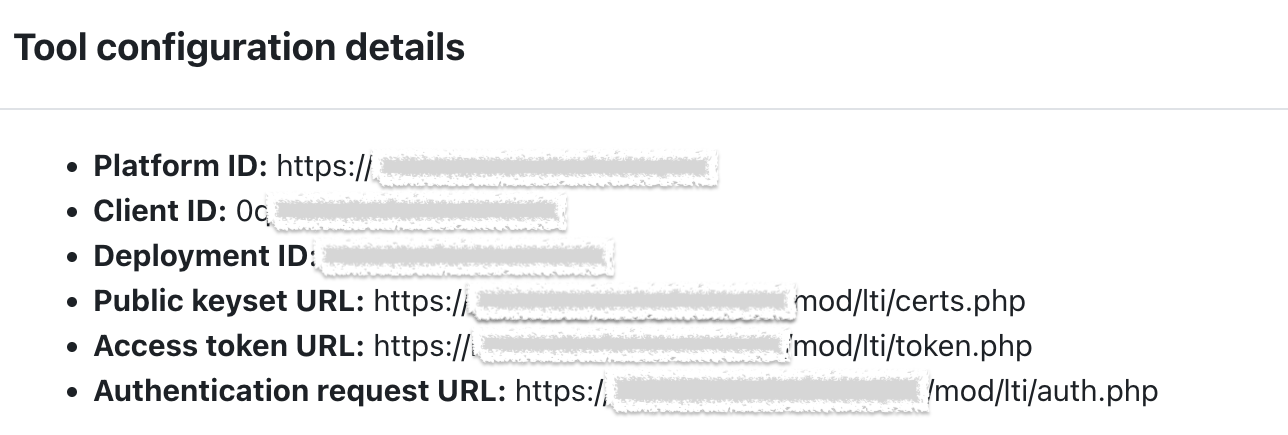
Share the following with Rumi (send to support@rumiessay.com)
- Platform ID
- Client ID
- Deployment ID
- Public keyset URL
- Access token URL
- Authentication request URL
Now follow the Guide for Instructor to add Rumi to an assignment.